How To Make A Beautiful WordPress Website 2020

Why take this course?
🌟 Course Title: How To Make A Beautiful WordPress Website 2020 🌟
Course Headline: Step By Step For Entrepreneurs, Freelancers, Small Biz Owners, Coaches, Consultants!
Introduction to Your New Website Journey 🚀
Hello and welcome, future website creators! In this video, I'm going to guide you through the process of building a WordPress website from scratch. This isn't just any tutorial; it's a step-by-step walkthrough with me, your personal guide, every step of the way. We'll be using cutting-edge tools and techniques that make creating a site not only faster but also more intuitive than ever before!
The website you're about to build will be powered by the same technology as some of the world's leading brands, including Forbes, Katy Perry, Apple, CNN, and Mashable. It's time to join their ranks!
Let's Get Started: Your Domain and Hosting 💻
Step 1: Choosing Your Website Address
🔥 Choose Your Domain Name:
Start by selecting your domain name with HostGator. It's the unique address where people will find your site, like websitesmadeeasy.com. Click on 'Get Started' and opt for the 'Hatchling Plan'.
✅ Domain Selection: Enter your desired domain name in the provided field. Choose between different domain extensions according to your preference.
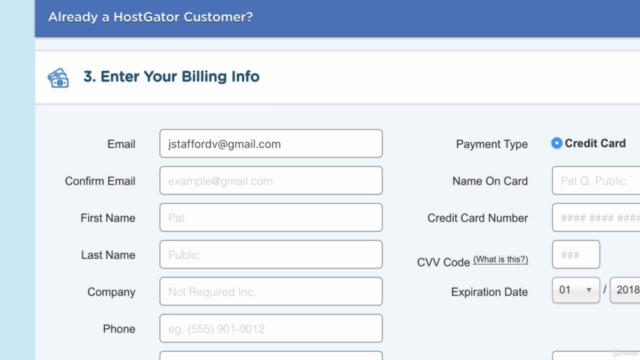
🚀 Account Setup: Create a username and security PIN, select your billing cycle, and enter your billing information. Remember to use an email address you frequently check for HostGator's login details post-purchase.
💸 Special Offer:
Before completing your purchase, don't forget to uncheck any additional extras you don't need and apply the coupon code wordpresshero for a discount!
Setting Up WordPress 🛠️
Step 2: Installing WordPress
🚀 WordPress Installation: After obtaining your HostGator login credentials, look for the 'C Panel' link in your welcome emails. Navigate to 'Software and Services' and click on 'Quick Install'. Select Wordpress and install it on your chosen domain.
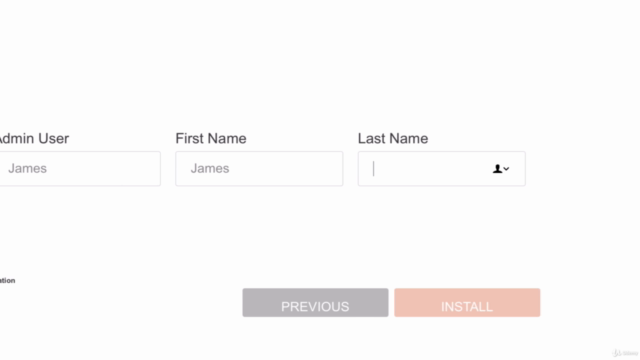
📑 WordPress Login Details: Enter your personal details such as name, blog title, username, and email during the WordPress setup. Your login credentials will be provided upon completion.
Creating Your Pages 🖌️
Step 2 (Continued): Launching Your Website
Now that WordPress is installed, it's time to bring your website to life by creating pages! Here's how you do it:
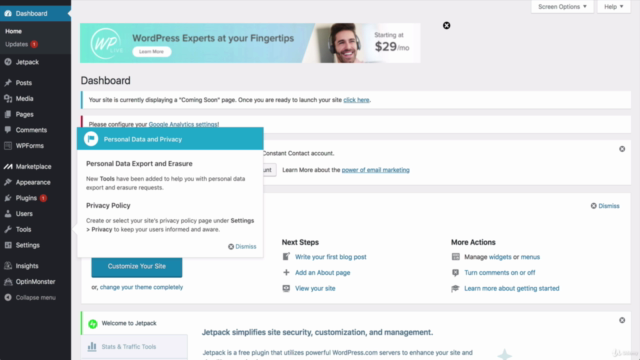
✅ Create Essential Pages: Log in to your WordPress dashboard and start by adding essential pages like 'Home', 'About', 'Contact', and any services or products you offer.
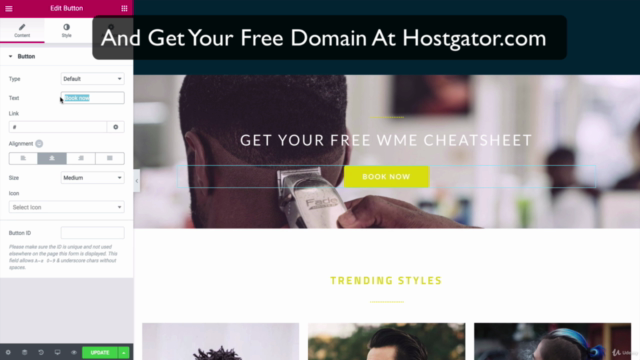
🎨 Design with Elementor and Envato Elements: Get familiar with the powerful page builder, Elementor, and explore Envato Elements for professionally designed elements to enhance your site's appearance. These tools are user-friendly and will allow you to create a visually stunning website without needing to be a design expert.
Final Steps to Launch 🚀
Step 3: Personalize and Go Live!
🖥️ Customize Your Website: Use the tools at your disposal to customize every aspect of your site, from layout to fonts and colors. Make it truly yours and reflective of your brand or personal style.
✅ Review and Edit: Check your website thoroughly. Ensure all pages are functioning correctly and that your site represents what you want to communicate to your audience.
💡 Launch Your Website: Once satisfied, your website is ready to be launched for the world to see! Share it with friends, family, and across your networks to start attracting visitors.
Conclusion: You're Now a Website Creator! 🎉
Congratulations on setting up your new WordPress website! This journey from concept to launch is just the beginning. With continuous learning and exploration of WordPress's features, plugins, and design possibilities, you can keep evolving your site.
Remember, the web is a dynamic environment, and staying up-to-date with the latest trends and technologies will help ensure your website remains effective and engaging for your audience. Good luck, and enjoy your creative journey!
Course Gallery


Loading charts...