Build Complete Webcam Security Camera | Python OpenCv & Pyqt

Why take this course?
🚀 Course Title: Build Complete Webcam Security Camera | Python OpenCv & Pyqt
🎓 Headline: Step by Step Guide | Build Your Own Webcam Security Camera Alert System from Scratch!
Welcome to the Course! 🌟
Hello Students,
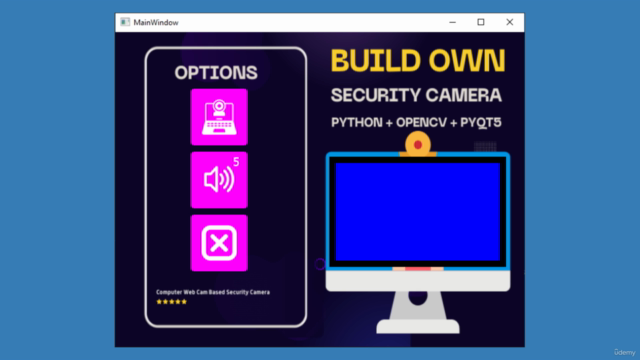
Get ready to embark on an exciting journey into the world of webcam security camera systems with our comprehensive course, "Build Complete Webcam Security Camera | Python OpenCv & Pyqt". This course is designed to take you from zero to hero in creating your very own alert system using Python, OpenCV, and PyQt with Qt Designer.
Here's what you can expect to learn and achieve:
🛠️ Installation and Configuration
- Software Setup: We'll kick off by installing the essential software packages needed for this project, including Python, pyqt5, pyqt5-tools, and the OpenCV library. You'll also learn to set up Visual Studio Code (VS Code) for your Python programming tasks.
- Essential Tools: A step-by-step guide to getting everything running smoothly on your system.
🎨 Designing the User Interface
- Beautiful UI with Qt Designer: Learn to craft a sleek and intuitive user interface using controls like
QPushButton,QLabel, andQSlider. We'll also dive into styling these controls with style sheets for that perfect aesthetic touch. - Enhanced Interactivity: Discover how to add hover effects to
QPushButtonsand dynamically change images inQLabelsto keep your users engaged.
📷 Camera Capture and Display
- Implementing the Camera: We'll explore how to integrate a camera using the cv2 library to capture real-time images.
- Live Image Display: Learn how to show these captured images in a window for instant visibility.
🎨 Image Processing
- Image Format Conversion: Master the art of converting images to grayscale and applying Gaussian blur for better clarity.
- Dilation and Contour Detection: Dilate images to highlight features, and then collect all contours to identify objects within the camera's view.
🔍 Object Detection
- Filtering Objects: Identify objects with a contour area greater than 5000 pixels.
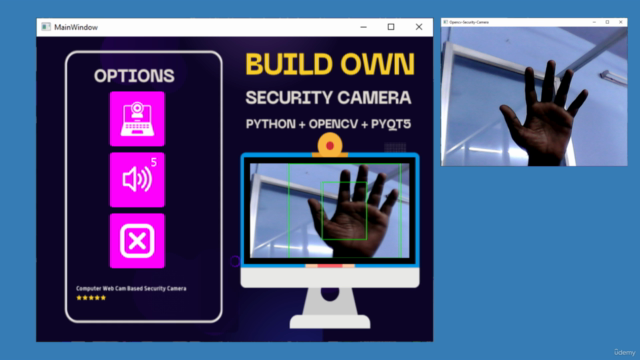
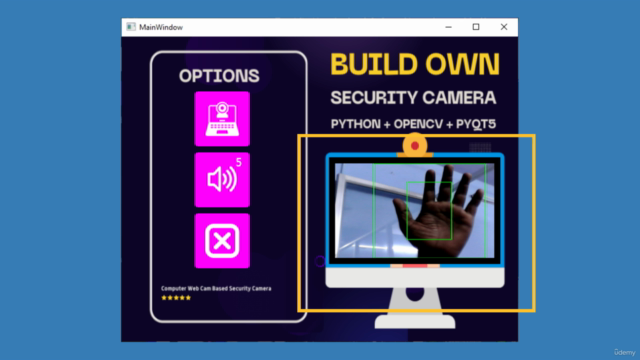
- Rectangle Drawing: Utilize the cv2 library to draw rectangles around detected objects, highlighting them in green for clear identification.
📁 Display Captured Objects
- Saving and Displaying Images: Save the captured objects as image files and then display these images in a
QLabelwithin your PyQt window, ensuring you can track objects even if they move out of frame.
By the end of this course, you'll have a solid understanding of basic functions in OpenCV, mastery over PyQt and Qt Designer, and the ability to process GUI controls with Python code. 🎓
Thank you for your interest in this course! I am excited to guide you through each step and support your learning journey. Let's get started and build something amazing together! 🚀
See you in class! 😊
Course Gallery


Loading charts...