Bridge Specialization - Revit + Robot & OpenBridge - AulaGEO

Why take this course?
Based on the provided outline, it seems like you're looking for a structured approach to learning bridge design using OpenBridge Thompson Series, with an emphasis on integrating AutoDesk Revit and Robot Structural Analysis (Robot Structure). Here's a summary of the course levels and their corresponding lectures:
Level I - Basic Operations in OpenBridge
- Introduction to OpenBridge
- Basic Design Exercise
- Adding Girders Exercise
- Adding Cross Frames Exercise
- Placing Sheer Studs
- Placing Pier and Abutments Exercise
- Placing Bearings, Stepped Cap, and Barriers Exercise 1
Level II - Design Bridges Using OpenBridge
- Exercise: Basic Design
- Exercise: Adding Girders
- Exercise: Adding Cross Frames
- Placing Sheer Studs
- Exercise: Placing Pier and Abutments
- Exercise: Placing Bearings, Stepped Cap, and Barriers Exercise 1
- Exercise Basic Design (Repeat for reinforcement) 15-20. Additional exercises including creating basic steel girder 2-span straight bridge models using the wizard, editing templates for a curved bridge, creating a segmental bridge model, and custom template creation.
Level II - Reporting Techniques in OpenBridge
21-30. Various lectures on generating different types of reports such as quantity, input, deck elevation, bearing seat, pier drawing, section drawing, etc.
Level III - Design Bridges Using Revit & Robot
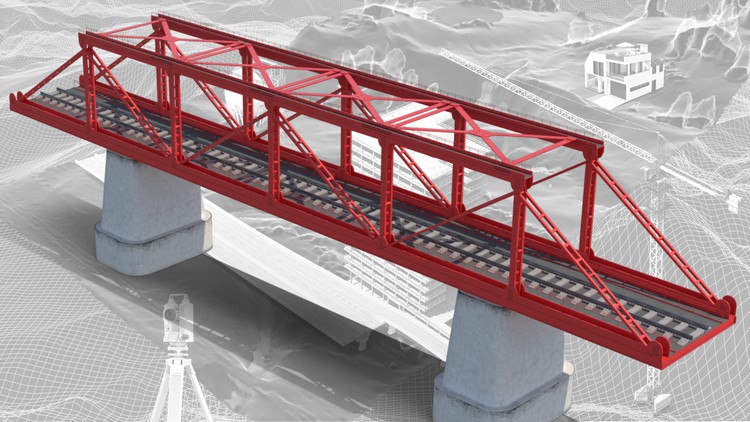
31-33. Introduction to using AutoDesk Revit for bridge design and integration with Robot Structural Analysis for advanced calculations. 34-38. Modeling a simple beam bridge in Revit, loading cases, exporting the analytical model to Robot, and finalizing results including interior RFT, BOQ (Bill of Quantities), and layout. 39-41. Modeling a truss system in Revit, performing analysis with Robot, and reviewing the final results.
Course Orientation
The course is designed to mimic real-world project workflows, uses practical files to follow along, and keeps content updated with new tools and techniques.
To get started or proceed with this learning path, you would typically begin with Level I, ensuring you have a solid foundation in OpenBridge before moving on to more complex tasks such as integrating Revit and Robot for a comprehensive bridge design workflow.
Remember that the exact sequence of lectures and topics may vary slightly depending on the platform providing the course or any updates to the software. Always check the latest material from your chosen learning resource.
Loading charts...