Digital forms that email an attached PDF using Google Apps
ALL NEW in 2022 & easy to follow! Digital Forms: volunteer, waivers, certificates, invoices, surveys, training & more!
4.03 (18 reviews)

627
students
39 mins
content
Jan 2022
last update
$19.99
regular price
Why take this course?
Based on the detailed explanation you've provided, here's a step-by-step guide on how to use Google Forms, Sheets, and Docs to automate form responses, including sending out emails with attached PDF documents:
Prerequisites:
- A Google account. (If you don't have one, you can create it at Google Accounts).
- Basic knowledge of using Google Drive and its apps (Google Forms, Sheets, and Docs).
Steps to Follow:
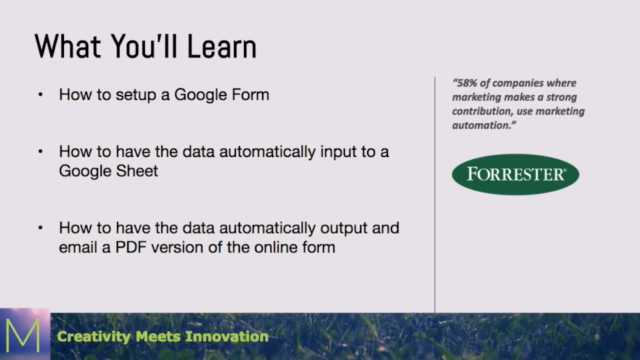
Step 1: Create Your Google Form
- Go to https://forms.google.com/ or access it from your Google Drive.
- Click on "Blank form" to create a new form.
- Design your form by adding questions and choices as needed. Use different types of questions (multiple choice, text, etc.) as appropriate for your survey or form.
- Once you've set up your form with all the necessary questions, click on "Send" to share the form.
Step 2: Share Your Form
- You can send the form via email, link, or embed it directly onto a website. For this instruction, we will use the link option.
- Copy the form link provided after clicking "Send."
- Share this link with your intended respondents.
Step 3: Set Up Google Sheets to Collect Responses
- Create a new Google Sheet where you want the responses to be collected.
- From your form, click on the "Responses" tab and then select "See all response data."
- Click on the "Extension" button and choose "Publish to the web."
- Select "New spreadsheet" and publish the form responses to the new sheet you created.
- Respondents' data will automatically populate this sheet as they submit the form.
Step 4: Create a Google Docs Template
- In Google Drive, create a new Google Document as your template.
- Format this document as desired, with placeholders for where you want the respondent's data to appear.
- Save this document and note its name or keep it in a folder for easy access.
Step 5: Automate the Creation of Docs from Responses
- Go back to your form within Google Forms.
- Click on the "Settings" gear icon.
- Under "Notifications," add yourself as a collaborator and set up an email notification for new responses.
- In the "Reply to" field, enter a rule for creating a document from the form response data. The rule might look like this:
{FormResponsesApp:getResponse(A)}}{FormResponsesApp:replaceWithDocValues(B1:C3)}{LinkToSpreadsheet}(Note: B1 and C3 should match the location of the respondent's data in your spreadsheet and the values you want to appear in the Docs template). - Customize the "Subject" line of the email notification as needed.
- Click on "Save."
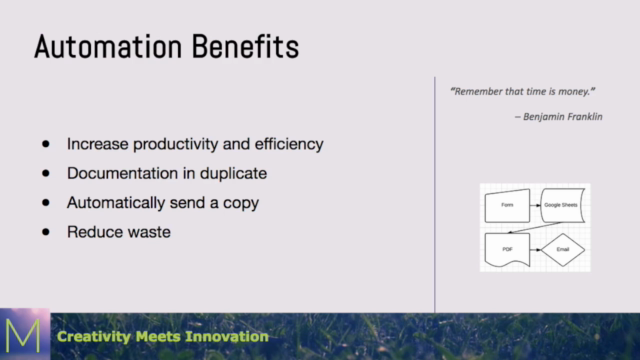
Step 6: Automate Email Sending with Attached PDF
- In Google Drive, open the "Google Form response" folder or create one if it doesn't exist.
- Install an add-on like "Mail Merge with Attachments" or use a script like "Form Response to Email." (These are third-party solutions and their setup process will vary.)
- Set up the add-on/script to send an email with the Google Docs document as an attachment. You'll need to configure it to recognize your Google Sheets as the source of data and link it to your Gmail account.
- Test the automation with a dummy response to ensure it works correctly.
Step 7: Monitor and Maintain Your System
- Regularly check your system for any issues or errors in the process.
- Update your templates, scripts, and rules as needed based on changes in respondents' needs or updates to Google services.
Remember that the exact steps and syntax may vary depending on the tools and add-ons you use. Always refer to the official documentation for each Google product for the most accurate guidance.
Please note that the information provided is for educational purposes, and the actual implementation might differ due to updates in Google products or changes in third-party services.
Course Gallery


Loading charts...
Related Topics
358850
udemy ID
29/11/2014
course created date
17/07/2022
course indexed date
Bot
course submited by