Audio Production Level 2 – Reverb and Delay
A big part of Audio Production. Set up Reverb & Delay from scratch to create the spaces to bring your Mixes to life!
4.69 (29 reviews)

250
students
3 hours
content
Apr 2024
last update
$19.99
regular price
Why take this course?
Let's break down the lessons you've outlined into a step-by-step guide on how to use various plugins for Reverb, Delay, and their combination in a music production context. Here's a structured approach based on the topics you've described:
Section 1: Impulse Responses and Convolution Reverb
Overview of Convology Plugins:
- Understanding Impulse Responses (IRs): Learn what IRs are, how they capture a space, and the role they play in convolution reverb plugins.
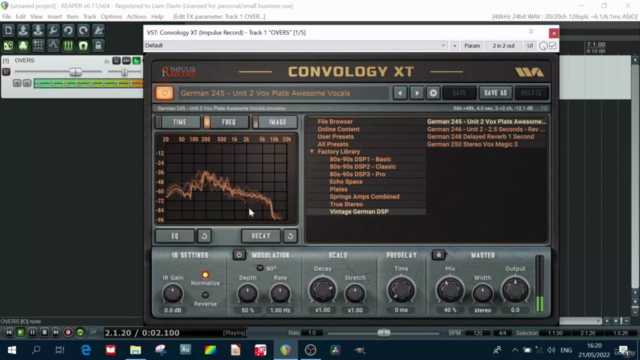
- Convology Plugin Overview: Familiarize yourself with the Convology XT plugin interface, its controls, and their functions.
- Making Your Own Presets: Learn how to capture your own IRs and create custom presets for future use.
- Listening to Different Spaces: Experiment with the 14 provided IRs, each representing a different acoustic space, and hear how they affect a snare drum hit.
- Effects on Snare Drum: Understand the nuances and characteristics of each space by analyzing the impact on the snare sound.
Section 2: Delay Plugin Overview
Understanding Delay:
- Delay Plugin Introduction: Get an overview of how delay plugins work and what they can add to your music.
- Synchronized Delays: Learn how to sync delays to the BPM of your track, creating rhythmic patterns that can accentuate or alter the groove of your music.
- Short Delays Techniques: Explore short delay effects like ADT (Automatic Double Tracking) and slapback delay, and their applications in music production.
- Stereo Widening with Delay: Use delay to create a wider stereo image for your tracks.
Section 3: Special Plugins
Exploring Unique Processing Tools:
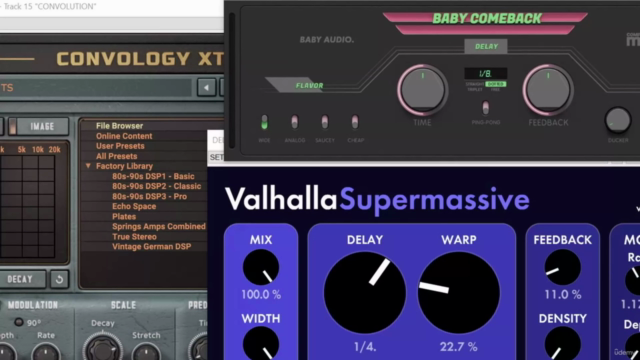
- Baby Comeback by Baby Audio: Understand the unique features of this plugin, such as ducking, and how it can be used creatively in your mix.
- Supermassive Reverb by ValhallaDSP: Explore different modes and learn how to save custom presets for future use.
Section 4: Delay & Reverb Tips and Tricks
Combining Delay and Reverb:
- Creating Delayed Backing Vocals: Learn a technique to emphasize key words in a song by using delayed backing vocals.
- Compression with Reverb: Discover how adding compression to your reverb can lead to a fuller, more controlled sound.
- Delay and Reverb Together: Understand the interplay between delay and reverb, and how combining these effects can enhance the mood and atmosphere of your tracks.
Additional Tips and Tricks:
- Order of Effects: Generally, reverb should be applied after most other processing (like compression and EQ) to ensure that the reverb space accurately represents the dry signal. Delay can be either before or after reverb, depending on the desired effect.
- Subtlety is Key: Use these effects sparingly and with intention to avoid cluttering the mix.
- EQ After Reverb: Apply EQ after reverb to help carve out space for each instrument in the mix and prevent muddiness.
- Automation: Experiment with automating the parameters of your plugins to add movement and interest over the course of a song.
- Learning from Examples: Listen to professional tracks to understand how these effects are used in context, taking note of subtle nuances that can make or break a mix.
By following this guide, you'll gain a comprehensive understanding of how to effectively use reverb, delay, and their combinations to enhance your productions with rich textures and dynamic rhythms. Remember, the key to mastering these plugins is experimentation and creativity within the context of your music.
Course Gallery


Loading charts...
Related Topics
4742952
udemy ID
20/06/2022
course created date
23/06/2022
course indexed date
Bot
course submited by