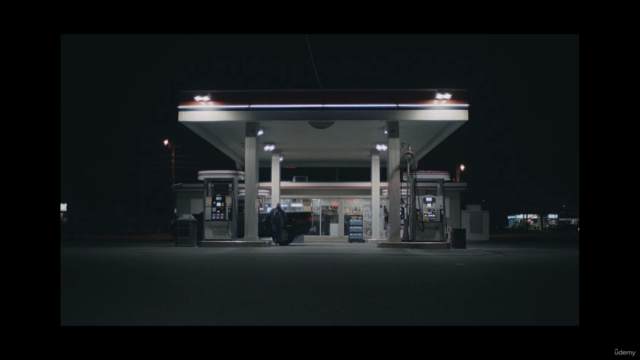
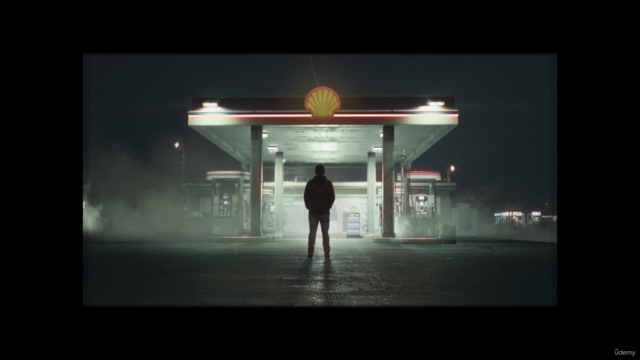
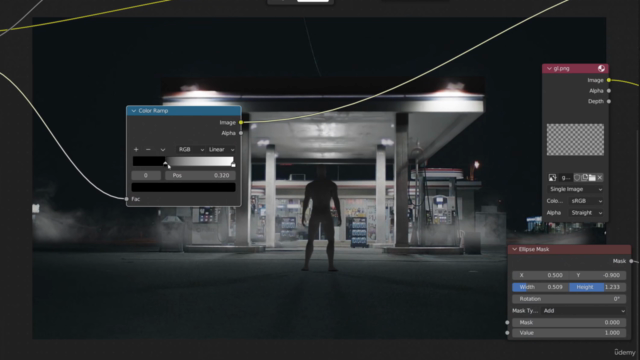
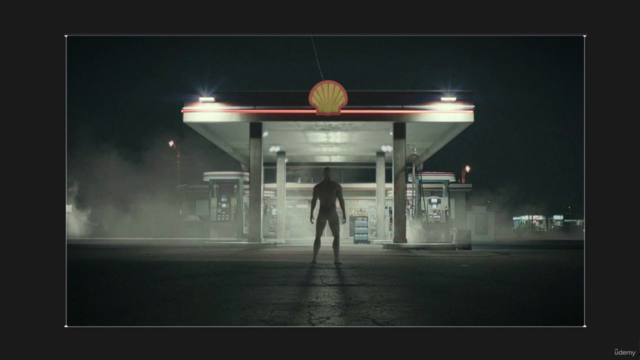
A quick way to build a realistic scene in Blender

Why take this course?
🎉 Course Headline: "A quick way to build a realistic scene in Blender: Extend photo with 3D, 2h step-by-step tutorial"
🚀 Course Description: Are you ready to dive into the world of digital artistry without the steep learning curve? Sime Bugarijac brings you an exclusive 2-hour tutorial that transforms your photographs into breathtaking 3D scenes using Blender, absolutely FREE! 🎓
Why This Course?
- Efficiency: Learn how to extend a photo with realistic 3D elements in a fraction of the time.
- Realism: Master the art of blending CGI with photography to create lifelike scenes.
- Skill Level: Perfect for beginners, yet packed with advanced tips for seasoned Blender users.
- Comprehensive Guide: From camera setup and character import to post-processing color grading, this tutorial covers it all!
Course Outline:
- Inspiration & Preparation: Get your creative juices flowing with some inspiration and prepare your workspace. (7 min) 🎭✨
- F-Curve Editor (F-Spy): Understand the movements of your camera for a seamless blend between the real photo and the 3D world. (14 min)
- Importing Camera & Characters: Learn how to import cameras and characters correctly, respecting the vanishing point and perspective. (7 min)
- Combining Background Image & Render: Integrate your photo with Blender's viewport for a cohesive starting point. (5 min)
- Modeling a Gas Station: Step-by-step instructions on creating a gas station model from scratch. (15 min)
- Lighting and Shadows Setup: Recreate the mood and lighting of your original photo in 3D space. (15 min)
- UV Project Modifier Magic: Enhance textures by manipulating them with this powerful Blender tool. (6 min)
- Color Matching: Perfect the color grading to make your renders pop and match your original photo. (5 min)
- Improving Textures: Learn techniques to enrich low-resolution textures for a detailed, realistic scene. (6 min)
- Creating Reflections on the Ground: Add life to your scenes with dynamic reflections. (12 min)
- Adding Details to Elevate Your Scene: Small details make a big difference in the believability of your work. (9 min)
- Overlays for a Cinematic Touch: Discover how overlays can add that final layer of polish to your scene. (11 min)
- Post-Processing - Part 1: Dive into the post-processing phase to refine and enhance your renders. (9 min)
- Post-Processing - Part 2: Final touches to bring everything together and polish your masterpiece. (12 min)
🎨 What's Included?
- Complete Resources: All the resources you need, including links for a smooth learning experience.
- Final .blend File: Use the final project file as a reference to ensure your work matches the tutorial's outcome.
No Blender experience is necessary! This step-by-step tutorial is designed for beginners and will guide you through each stage of the process. Enroll now and start your journey to becoming a 3D art wizard with Sime Bugarijac! 🧙♂️✨
Ready to transform your photography into stunning 3D scenes? Click "Enroll Now" and let's create something truly remarkable together with Blender! 🚀💪 #BlenderTutorial #3DArt #DigitalCinema #ExtendPhotoWith3D #SimeBugarijacCourse
Course Gallery


Loading charts...